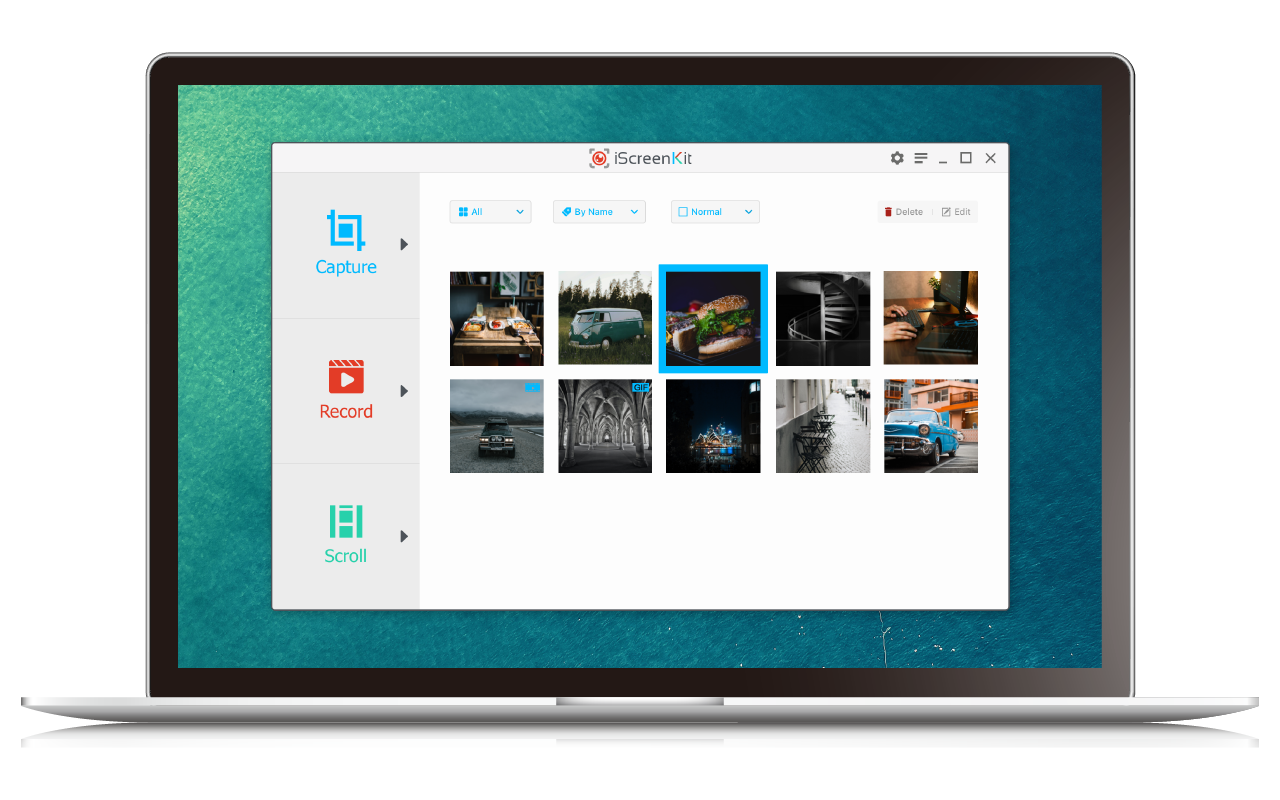
Help – 1:
Capture Screen
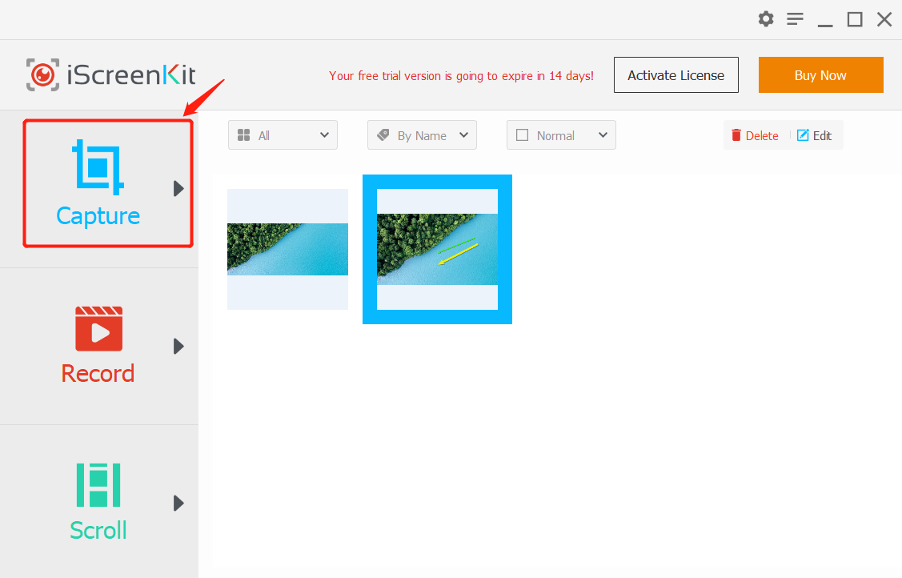
1. Click the Capture button at the left toolbar of the main screen to start.
2. To take screenshot of a specific area of the screen, click and hold down the left mouse button, drag the pointer to select the area, and then release the mouse button to capture.
3. Edit or add annotations to the capture image in the capture preview window, and click the green Checkmark button to finish your capture.
Help – 2:
Edit the Captured Image
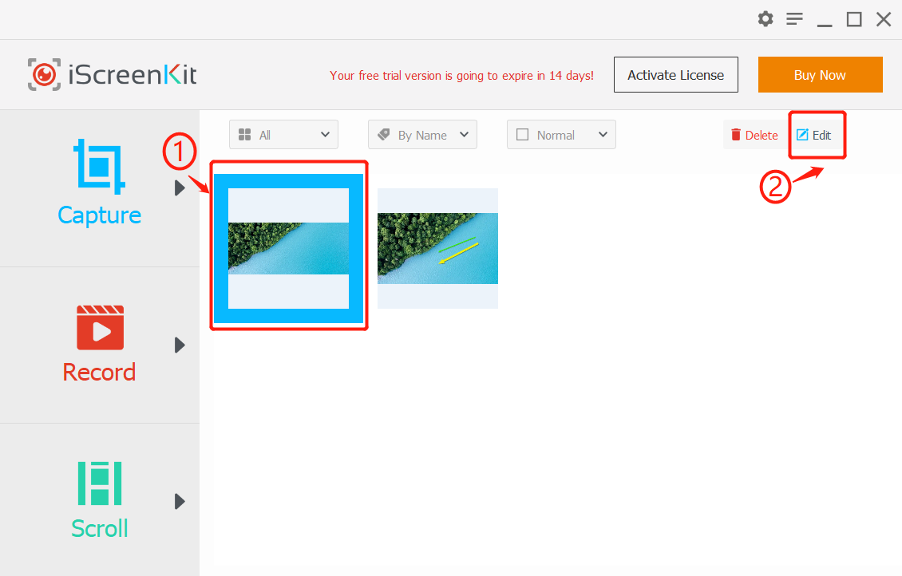
1. Open the Editor Picture window by clicking the captured image and taping the Edit button on the upper right in the preview window.
2. Select the tools at the top menu, configure it to the right panel, and apply it to the captured image.
3. Click the Save button to complete and save your editing and annotations.
Help – 3:
Scrolling Capture
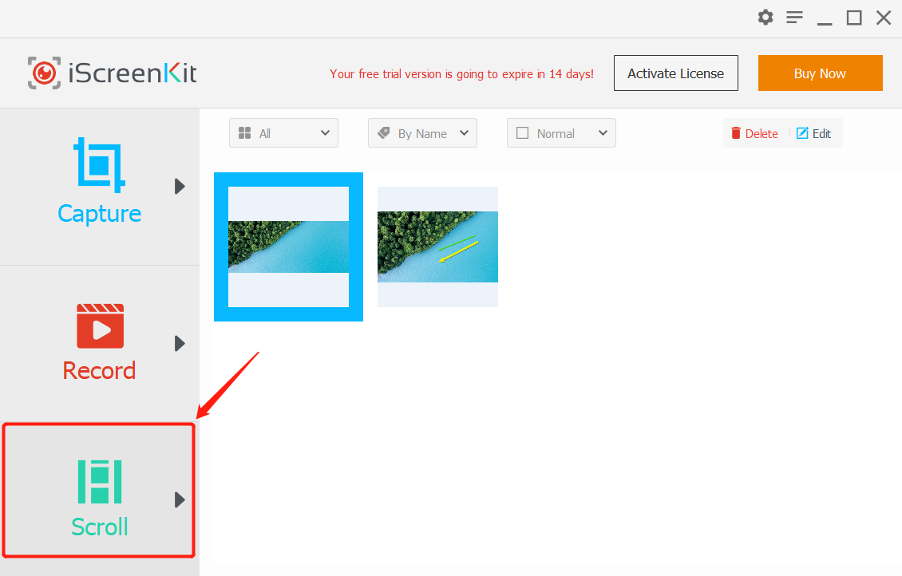
1. Click the Scroll button at the left toolbar of the main screen to start.
2. To capture a scrolling screen, click and hold down the left mouse button, drag the pointer to select the area, and then release the mouse button to capture.
3. Edit or add annotations to the capture image in the capture preview window, and click the green Checkmark button to finish your capture.
Help – 4:
Record Video
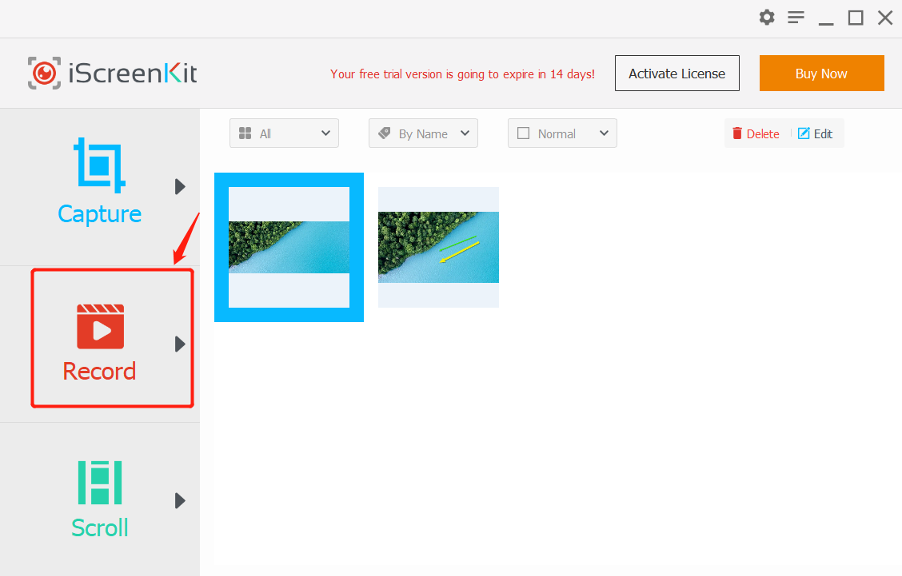
1. Click the Record button at the left toolbar of the main screen to start.
2. To capture a video on the screen, click and hold down the left mouse button, drag the pointer to select the area.
3. Click the Start button to start recording.
4. Click the green Checkmark button to create your video.
5. During the video recording, you can pause capturing by click Pause button before the recording finished.
Get Support support@iscreenkit.com