
How to Take Screenshots of Data on Microsoft Excel
Mar 09, 2021Computer users that often work with spreadsheets and Microsoft Excel might be looking for an easy way to share small snippets of data, relay important statistics, and send a pie chart to their colleagues quickly. Spreadsheet files in XLSX and XLF format (associated with MS Excel) are often big in size, slow to load, and are some cases messy to deal with. If you need to quickly send a preview of the content in a spreadsheet to a colleague, you are most likely to use a screenshot application and grab a photo of the data on your screen.
Screenshots can be easily shared on Skype, Microsoft Teams, Hangouts, ProofHub, Slack, and Flock. Screenshots are invaluable when you seek to streamline your workflow, improve accountability, save time and improve employee engagement. If you work on Windows you might be familiar with the “Snip & Sketch” screenshot tool by Microsoft and if you are on Mac, you might be using the “Screenshot” app by Apple. However, there are much better tools to make screenshots on both systems such as the iScreenKit program from www.iscreenkit.com.
The iScreenKit software enables users to make screenshots across various office solutions like Microsoft Excel, Google Sheets, Libre Office Calc, and Caligra Sheets. The program can sit quietly in the system background and with a quick keyboard command, you can make a screenshot very easy. The keyboard command can be set up by opening the options panel from the gear wheel icon and then clicking on the gray button followed by typing your preferred command for making a screenshot:
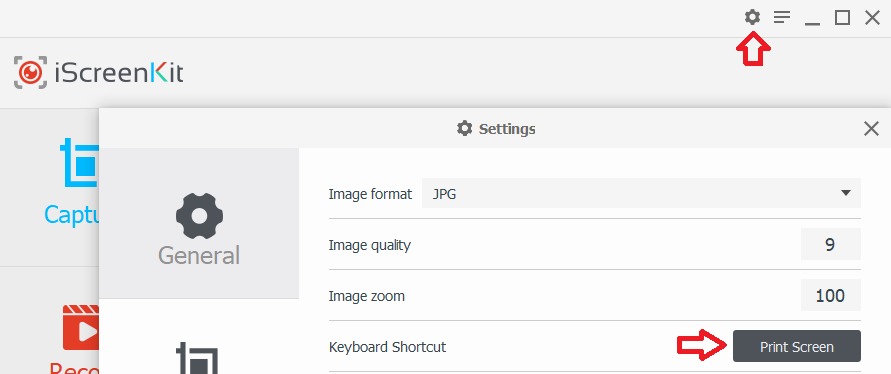
We advise users to make sure that the screenshot command for iScreenKit does not match the keyboard command for other functions performed by software on their system so they can avoid interference and unwanted app behavior. Considering the context of this article, you might want to check the list of keyboard commands for Microsoft Office on the official support page here. You do not need to open the program window for iScreenKit if you need to take a screenshot in Excel (or another spreadsheet tool), just hit the keyboard command and hold the left mouse button to drag an area across your screen.

You will then see these options and can make a few quick edits like highlighting an important text line, circling a number of significant importance, and pointing to a parameter for reference. To finish the screenshot – click the green checkmark and you will be taken to another editing tool (if you have enabled editing options in iScreenKit).

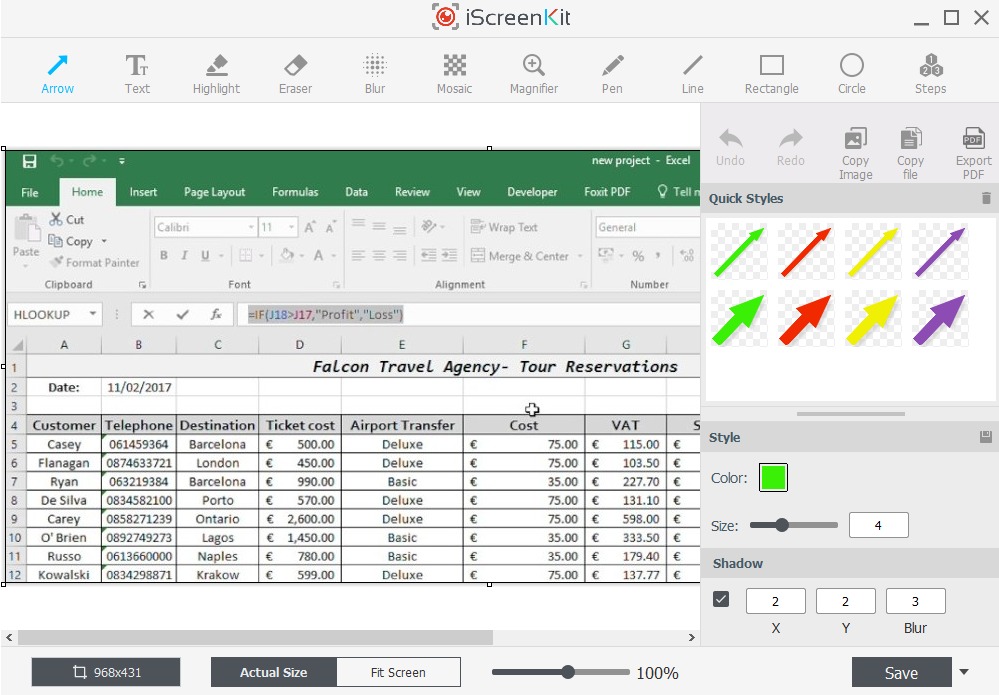
The new editing window is powered by the full suite of options that come with iScreenKit and looks like this:
-
If you do not wish to make any changes just click on “Save”.
-
If you decide to make changes you can save them to the original file directly or click the arrow next to the “Save” button and chose “Save a copy” instead.
Both image files made by iScreenKit can be found in the default save directory:
“C:/Users/username/Documents/iScreenKit”
PC users that are looking for a good screenshot tool should find the iScreenKit program at www.iscreenkit.com and take advantage of its beautiful interface and powerful editing functionality.